Search Knowledge Base
How To Associate Contacts And Organizations
Linking Contacts And Organizations
Some contacts are associated with specific organizations, for instance they may be employees, a member of a union, or a member of a community group.
There are two ways to link Contacts and Organizations:
- Link an Organization to a Contact
- Add Contacts to an Organization
1) Linking an Organization to a Contact
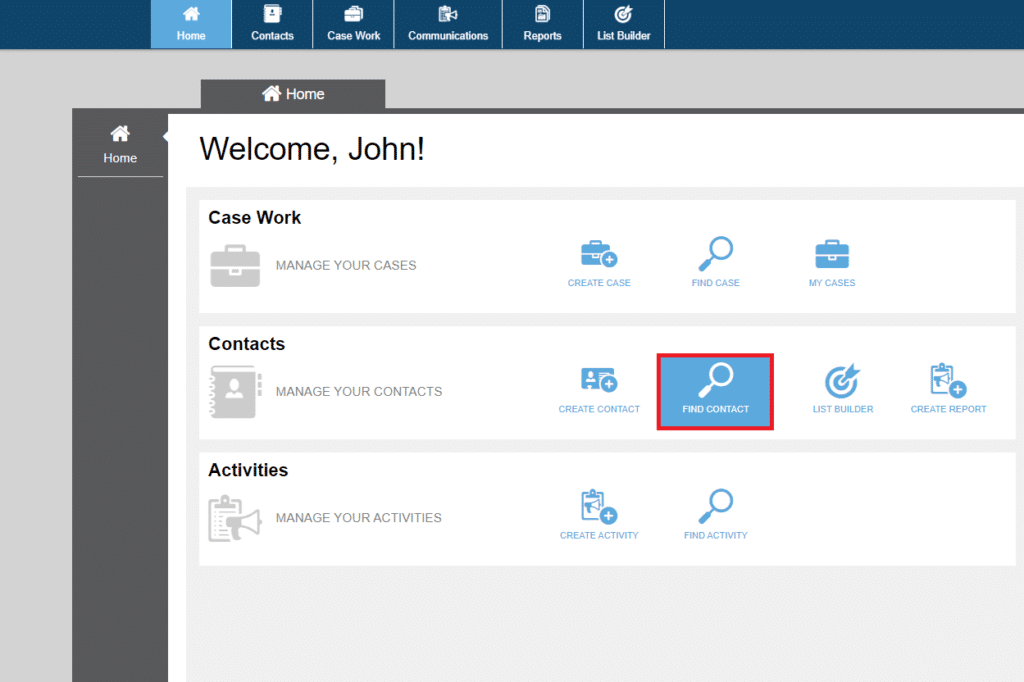
Navigate to the Contacts section of the application by selecting the find contact icon on the homepage.
Search for the contact you wish to link to an organization and select the contact.
Once you have selected the contact, scroll down to the Organizations section. This section displays all of the organizations with which the contact is associated.

- Selecting the + icon on the left corner of the organizations table will allow you to search for and select organizations as well as indicate the contact’s role within the organization and when they had that role.
- Selecting the Pencil icon on the right side of the Organization line will let you edit the Contact’s role and the dates they had that role.
- Selecting the x icon to the right of the pencil will remove the Organization from that Contact.
2) Adding Contacts to an Organization
Navigate to the Find Organization section of the application by selecting the Contact item on the top menu bar, or one of the Contact quick links on the home page.
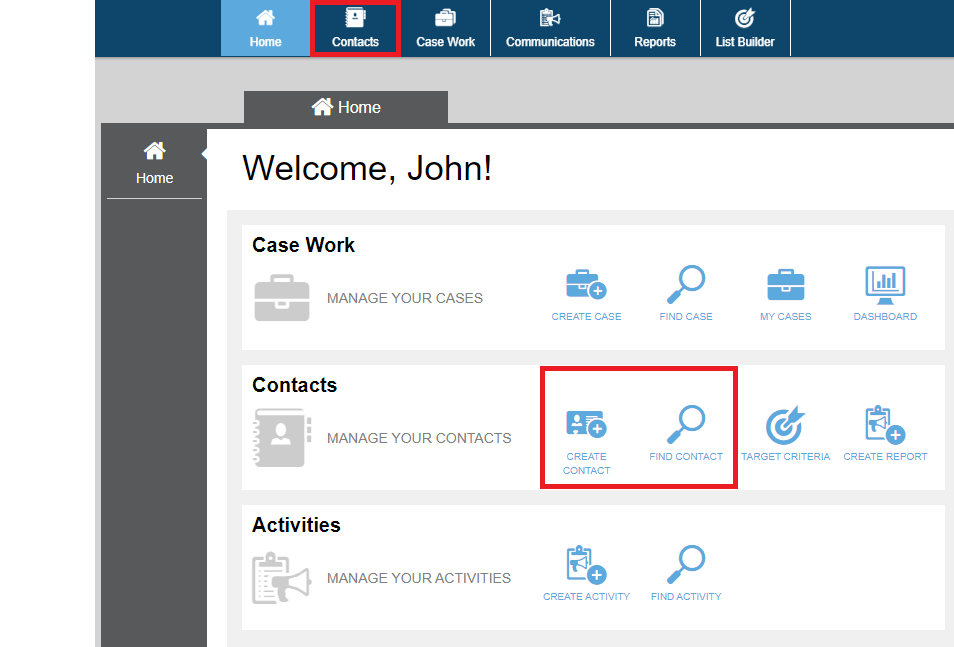
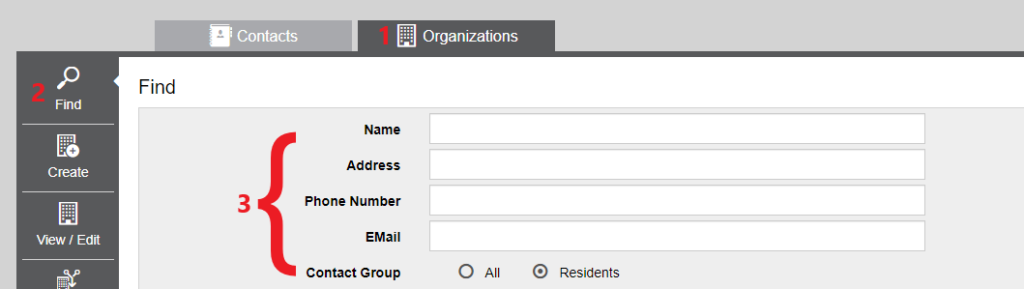
- Click on the organization icon under the menu bar at the top of the screen.
- Then select the Find icon from the menu at the left of the page.
- Then search for the desired organization using the name, address, phone number, and/or email.
Select the desired organization. The organization’s information page should appear. Scroll down to the Associated Contacts section, which displays all of the contacts associated with that organization.

- Selecting the + icon in the top left corner of the Associated Contacts table, will allow you to select the contacts that you want to add to that Organization as well as indicate each Contact’s role within the organization and when they had that role.
- Selecting the Pencil icon on the right side of the Contact line will let you edit the Contact’s role and the dates they had that role.
- Selecting the x icon on the right of the pencil will remove the Contact from that Organization.
Report
You can run a Report that reports on all Organizations with their associated Contacts. To Create a Report, view How to Create Reports.
